A few weeks ago, Green Bay had a power outage. When Lindsay went to our vacant house to turn on the water so our water-back-up sump pump would work, she discovered that our furnace had been leaking and that the carpet was so soaked, it was growing mushrooms!
She called in a repairman for us, and we learned that the furnace had probably been leaking for over six months as the condensation discharge hose had fallen out. It was not properly installed ten years ago, and it finally gave way; however, since we were not here to do "proper maintenance," and since the installation company was partly at fault, our homeowners insurance will not cover the cost of the repairs. They told us to go to the furnace installation company for repair costs... like that would happen with a 10-year-old furnace malfunction!
So we flew back to Green Bay earlier than expected, and we have been working downstairs ever since.
Step One was to remove all of the moldy carpeting, drywall, stud walls, and carpet strips.
 |
| Rick cut out the moldy carpet to expose the wet carpet pad and the moldy woodwork. |
 |
| The wet carpet and mold went around the corner into the bedroom area, too. |
 |
| The wet stud walls and drywall were full of black mold. |
Step Two was to spray the entire area around the furnace to kill any mold spores left in the concrete.
 |
| With the stud walls and drywall at the end of the hallway and around the corner into the bedroom removed, Rick sprayed the area to rid the house of mold. |
Step Three was to rebuild the stud walls that surround the furnace.
 |
| First up was the stud wall for the end of the hallway. |
 |
| Rick works on the stud wall in the bedroom. |
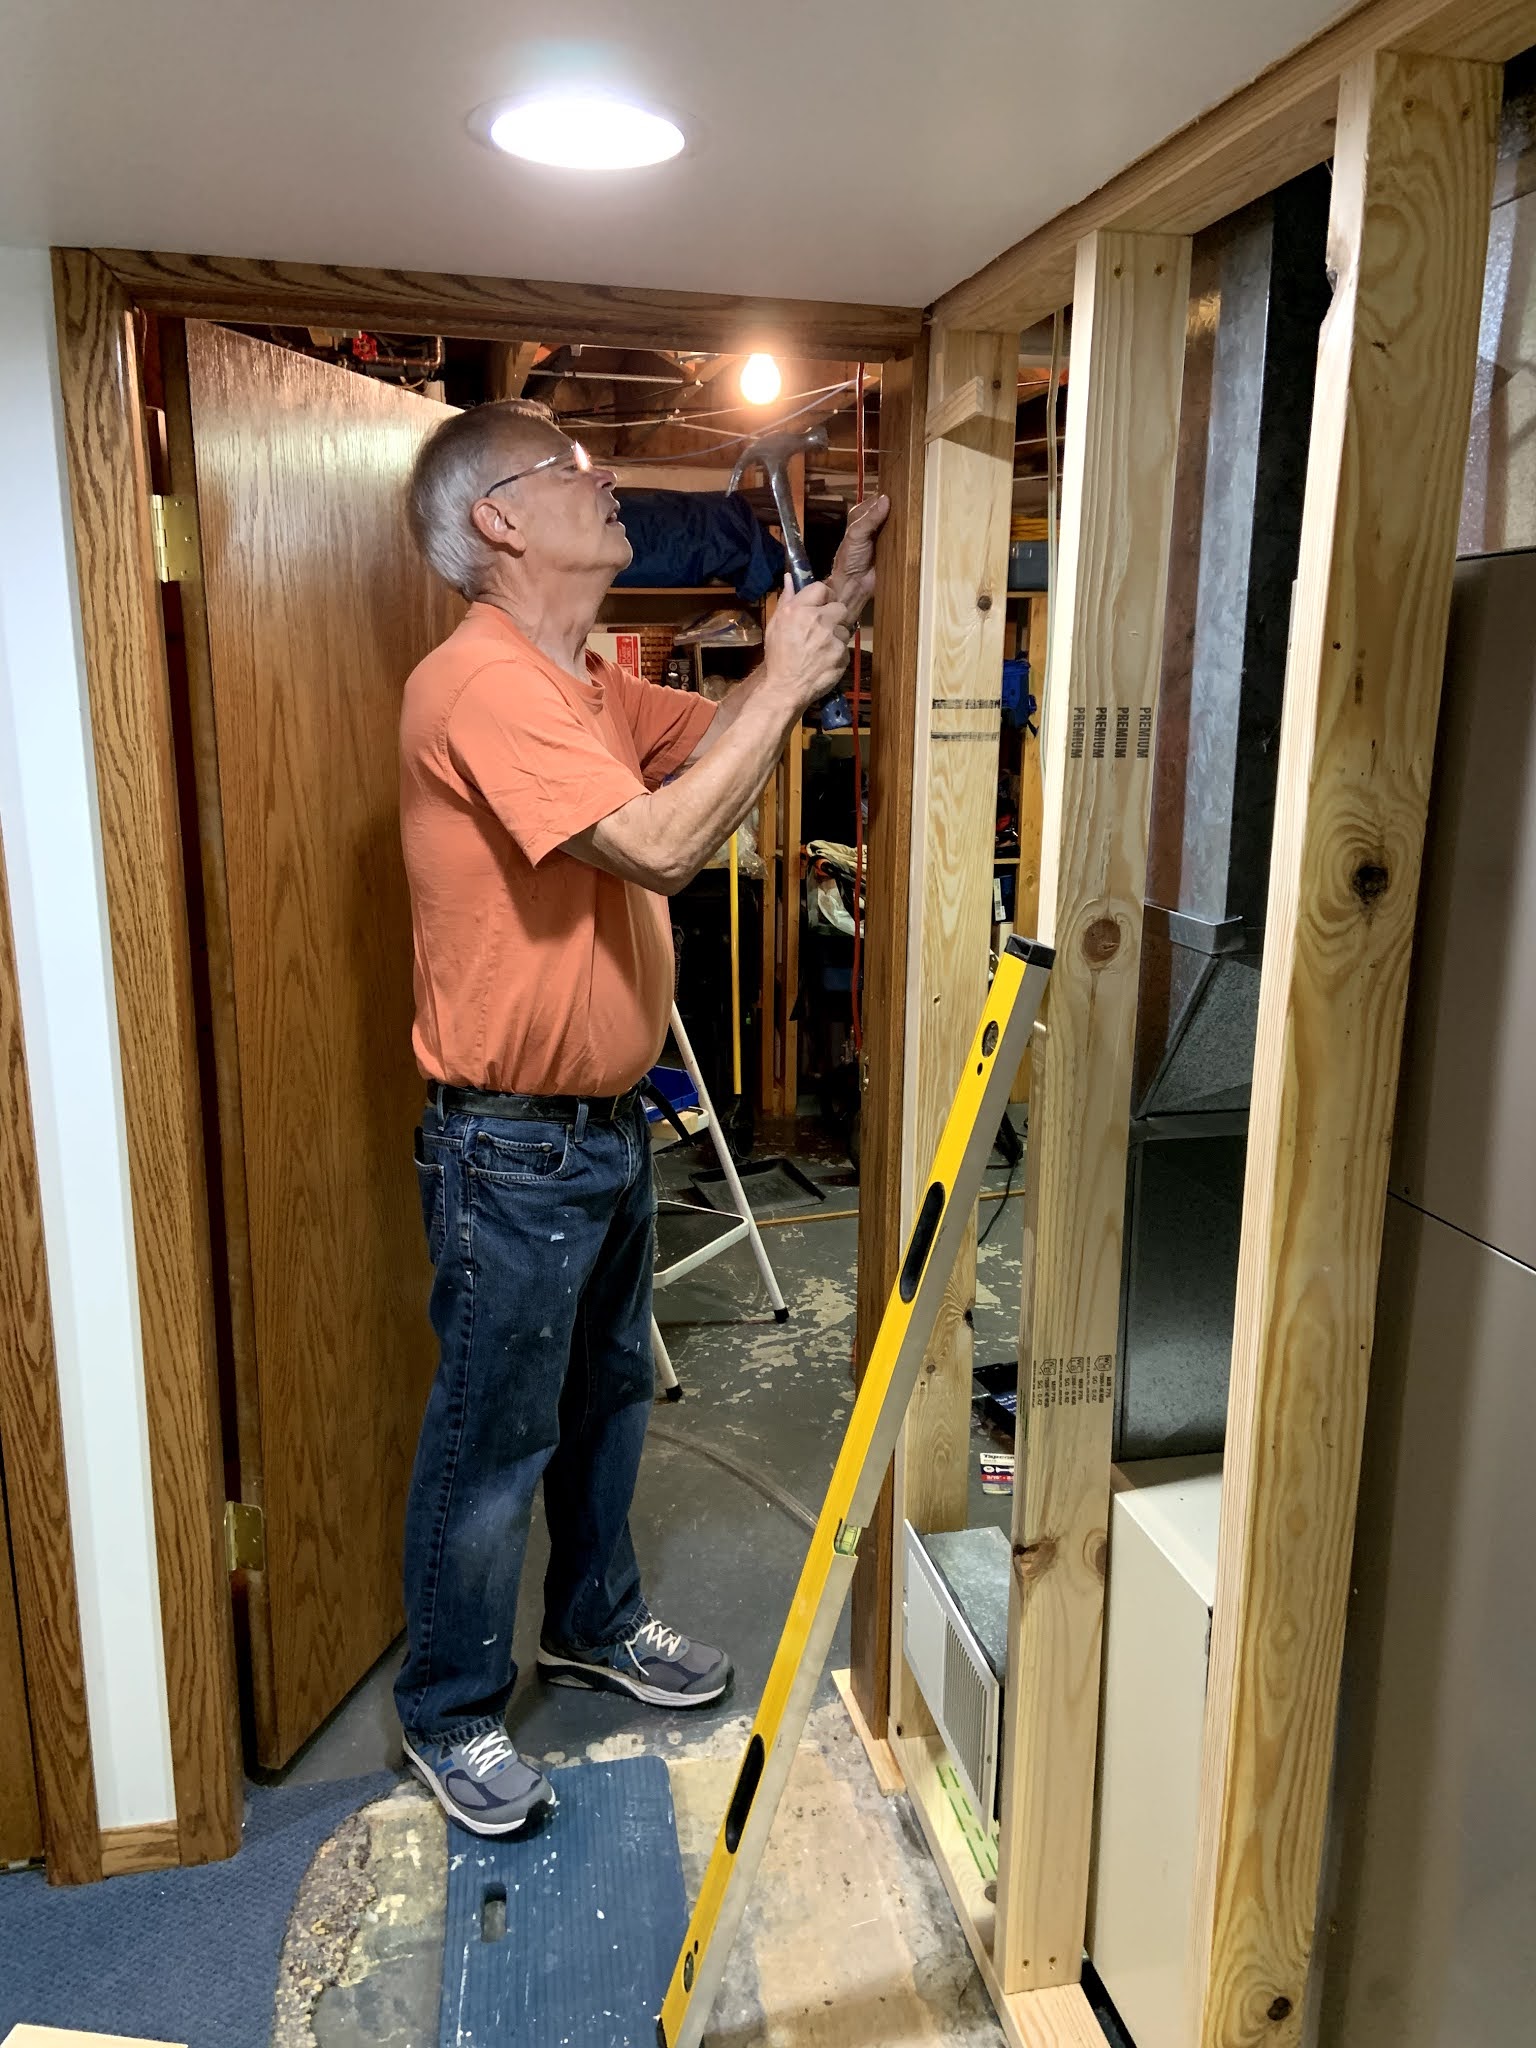 |
| Since one door was impacted, Rick had to add new moulding to the door frame. |
 |
| After a few careful cuts, the new drywall covers the end of the hallway. |
 |
| Rick screws in the drywall to the new bedroom wall. |
Step Four was to replace the old-fashioned, incorrectly wired fluorescent light fixtures before we burned down the house. We replaced them with LED canned lights. We figured since we had to drywall anyway, now was the perfect time to run new wires and to drywall the ceiling. We will do the same with the light fixtures in the exercise room, too.
 |
| New can lights flank the hole in the ceiling where the old fluorescent lights once hung. |
 |
| We had to build frames inside those holes to which we could fasten drywall. |
 |
| Then up goes the new drywall to cover the old hole. |
Step Five was to replace the old light box above the stairs with a canned light also.
 |
| The old stairway light box was way at the bottom of the staircase, so it did not light the stairs well. |
 |
| The new can light is further up the stairs, and we added a second at the bottom of the stairs. |
Step Six was to install new drywall, to tape the joints, and to mud it all. While the walls are just tedious to mud, the joints to the ceilings and the overhead work on the ceiling are the most difficult to complete.
 |
| The second coat of mud goes over the tape on the seams of the new drywall. |
 |
| Once the mud dries and we sand it, we will be able to paint them. |
 |
| The overhead work is the most difficult. |
Step Seven is yet to come. Once the walls are sanded, we will prime and paint them all. Then we can look downward since Step Eight will be to cut good carpet from the bedroom that was not damaged and to seal it to the carpet that is left in the hallway.
Steph Nine will be to install new flooring in the basement bedroom. We still are debating whether to use rolled sheet linoleum or to choose waterproof vinyl plank flooring instead. While the sheet will be about 1/3 the price of the planks, the planks almost will be easier to install, and they will (in my opinion) look much better. That decision is yet to be made.
While we were looking at lights, we also noticed that the canned lights in the kitchen had badly yellowed from years of heat from the lightbulbs, so while we are in the remodeling, it's-only-money mood, we replaced all of those lights with new LED lights, too. The LEDs have a 20-year guarantee. At our ages, I wish we had such a guarantee, too!
So the work goes on. In the end, we will have a repaired basement that will support the sale of this house some day when our daughters have to sell it. Until that time, it will be safe and will look good. We'll settle for that.
No comments:
Post a Comment